I thought I would share with you all how easy it is to make your own monogram.
(I am using Office for mac, but it should be similar on windows)
This is our finished monogram.
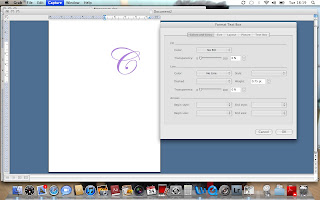
 Start by opening a blank document in Microsoft word, you then need to insert text box. Choose the font that you want to use. For the 'C' in ours I have used Edwardian Script (size 200) Once you have chosen your font (This site is great for free font downloads. you need to make sure that you have set up your text box with no lines or fillers.
To do so you double click on the box outline and a 'format text box' will appear. Click on colour - No fill and Line - No line.
This will ensure that you will be able to overlap your monogram.
 Complete the above instructions again to make your second letter and also your names and date of the wedding. For the 'M' I used Times New Roman (size 250) I also used a darker purple here to ensure that it stood out.
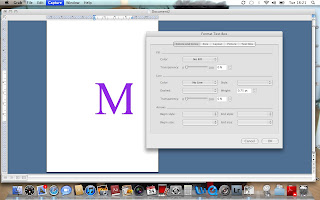 Once you have all your letters chosen and placed onto your word document you can then line them up over the top of each other and change sizes if necessary.
And again our finished monogram, which I then moved onto to our inserts by copying and pasting, I am sure there may be an easier way to move it over but I wasn't able to figure that bit out. Look here for our finished inserts: Invites>
 Hope this helps if you are planning on making your own monogram.
C xx
No comments:
Post a Comment